
El Samurai Crow es una de las clases más engañosas de Lineage 2 Essence.
En papel parece simple… pero si no entiendes cómo funciona, pega poco, no aguanta y se siente completamente inútil.
Esto no es un melee de spam. Es una clase de ejecución: preparar el objetivo, abrir ventana y hacer el daño en el momento correcto.
Aquí no ganas por aguantar… ganas por hacer bien las cosas. Si entiendes su lógica, el Samurai Crow se convierte en una de las clases más fuertes en PvE y extremadamente incómoda en PvP. Si no, da igual el equipo que lleves.
En esta guía tienes exactamente lo que necesitas: habilidades, prioridades, rotación y build optimizada para sacarle el máximo rendimiento desde el primer momento.
Table of Contents
Descripción
El 4 de noviembre de 2025, NCSoft lanzó oficialmente el update de Samurai Crow como una actualización global simultánea para Lineage 2, incluyendo Aden, algo bastante poco habitual en cómo solían manejar las regiones.
Y sí, tranquilos, que como siempre… los privados no tardaron en subirse al carro.
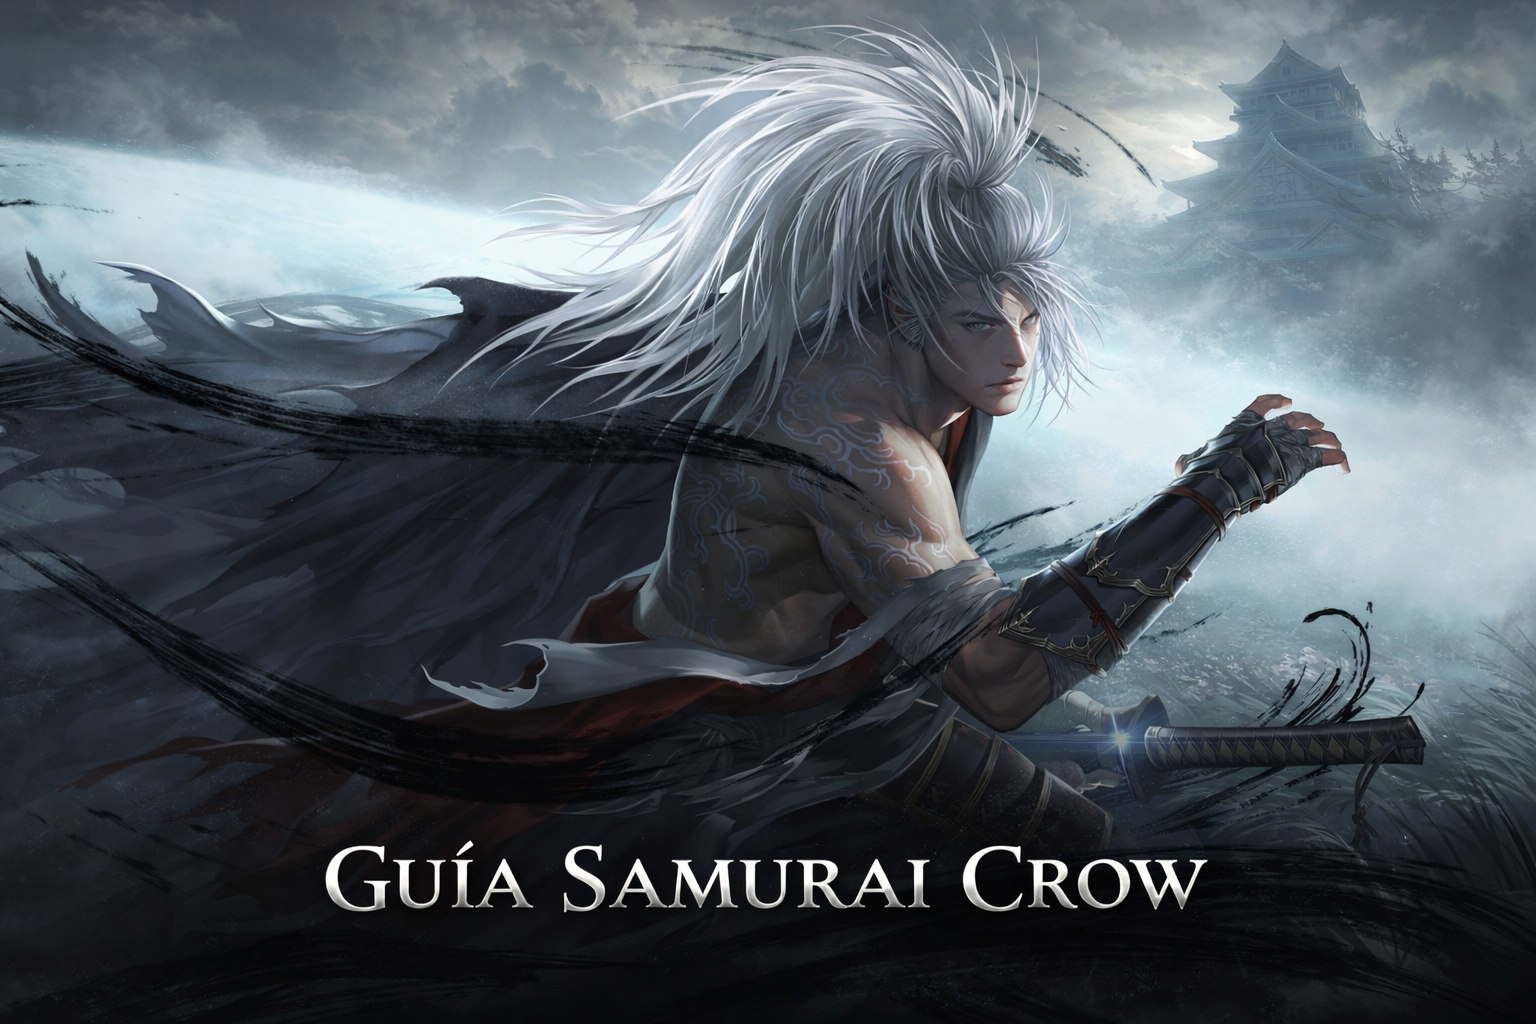
El Samurai Crow es un Jin Kamael masculino, pero a diferencia de la imagen clásica que muchos tienen de los Kamael, aquí no estamos hablando de alas, tecnología extraña ni estética angelical.
Aquí lo que tienes es otra cosa.
Un guerrero de inspiración samurái, con katana al cinto, armadura de estética japonesa y una identidad mucho más agresiva, más oscura y más directa. La propia presentación oficial lo vende como una clase que marca una “nueva era” para Lineage 2… y visualmente, sí se siente así.
Su rol dentro del juego es el de un Warrior de daño físico muy alto, con herramientas para burst, control, limpieza de grupos y presión constante en PvP. No es una clase de magia ni de rango. Lo suyo es entrar, preparar el objetivo y ejecutar en el momento correcto.
Lo más importante que tienes que entender es esto: el Samurai Crow no funciona como un melee plano. Su poder no está en spamear habilidades, sino en cómo preparas el objetivo y aprovechas sus ventanas de daño.
Cómo funciona Samurai Crow
La forma más fácil de entender el Samurai Crow es esta:
No es una clase de rotación fija.
No es una clase de spameo.
Es una clase de setup + burst.
Primero preparas el objetivo.
Luego abres una ventana de daño.
Y finalmente ejecutas el combo.
La base real del Samurai es:
- Mobility para entrar y posicionarte
- Twist para debuffear al objetivo
- Y a partir de ahí, empezar el daño real
Si no aplicas correctamente el setup… tu daño cae muchísimo, aunque tengas buen equipo.
A partir de ahí, todo gira alrededor de las ventanas de poder:
- Determination como tu ventana principal defensiva y ofensiva
- Omen como multiplicador de daño para cerrar peleas
- Battojutsu como ejecución final del combo
La diferencia entre un Samurai normal y uno que realmente borra personajes no está en el equipo…
Está en cómo prepara el objetivo y cómo aprovecha esas ventanas.
Puntos fuertes de Samurai Crow
El Samurai Crow destaca por varias cosas, pero sobre todo por cómo combina daño, presión y ejecución.
- Alto daño por habilidades: escala muy bien con Skill Power, P. Skill Critical Damage y mejoras de pasivas, lo que le permite hacer burst muy fuerte en ventanas cortas.
- Gran capacidad de burst: cuando preparas bien el objetivo con debuffs y entras en tu ventana de daño, puedes eliminar enemigos muy rápido.
- Buena presión en PvP: tiene herramientas como knockdown, reducción de CP y control que le permiten incomodar constantemente al rival.
- Escalado progresivo: la clase mejora mucho a medida que consigues libros y optimizas pasivas, lo que hace que se sienta cada vez más fuerte.
- Identidad clara y diferente: no es un melee plano; se basa en preparar el objetivo y ejecutar correctamente, lo que la hace más interesante a nivel jugable.
En resumen, es una clase que, bien jugada, puede ejercer mucha presión y decidir peleas en muy poco tiempo.
Debilidades de Samurai Crow
No es una clase para jugar en automático.
Si entras a pelear sin preparar el objetivo, si no aplicas correctamente los debuffs o si usas mal tus ventanas de poder, vas a perder muchísimo daño.
Tampoco es una clase que rinda al máximo desde el minuto uno. Empieza sólida, pero mejora muchísimo cuando consigues pasivas clave, optimizas tu build y entiendes cómo ejecutar correctamente.
Además, castiga bastante los errores: si fallas el engage o te quedas sin ventana activa, te vuelves mucho más vulnerable.
Por eso mismo, cuanto más entiendes la clase, mejor se siente… y más diferencia hay entre un jugador promedio y uno que realmente la domina.
Habilidades
Legend: Tablet | 1★ | 2★ | 3★ | 4★ | Master
Passive Skills
| Icon | Skill | Type | Description |
|---|---|---|---|
 | Katana Master | Tablet |
When using a one-handed sword: Damage bonus +5% P. Atk. +1400 |
 | Samurai Armor Master | Tablet |
When using heavy armor: Max HP +2500 P. Def. +1000 P. Skill MP Consumption -16% |
 | Sword Seizure | 1★ |
When using a one-handed sword: Damage bonus +10% Knockback/ Knockdown Atk. Rate +40% Unequip Resistance +25% |
 | Self-awareness | 1★ |
Atk. Spd. +20% P. Skill Critical Rate +12% |
 | Slashing of Straw Dummy | 1★ |
P. Atk. +2000 P. Atk. +12% |
 | Fiery Fighting Spirit | 1★ |
Max HP +3000 On receiving fatal damage, applies the Returned Life effect. Trigger rate: 6% Knocks nearby enemies back and recovers 60% HP to the caster. |
 | Furious Heart of Sword | 2★ |
P. Atk. +1000 P. Accuracy +20 Atk. Spd. +40% Buff Cancel Resistance +6% P. Skill Cooldown +20% When using Double Flash, applies Domination on the enemy. Trigger rate: 10% Duration: 3 sec. One-handed Sword Resistance -1% |
 | Fundamental Teaching | 2★ |
P. Atk. +2000 Skill upgrade based on combat power Twist → Full Twist Full Twist’s enhanced effect: Combat power 0-499: Attack area +20 Number of targets in PvP/ PvE: 4 Combat power 500-999: Attack area +40 Number of targets in PvP/ PvE: 6 Combat power 1000-1499: Attack area +60 Number of targets in PvP/ PvE: 8 Combat power 1500-1999: Attack area +80 Number of targets in PvP/ PvE: 10 Combat power 2000+: Attack area +100 Number of targets in PvP/ PvE: 12 |
 | Workout | 2★ |
Max HP +10% P. Def. +300 |
Buff Skills
| Icon | Skill | Type | Description |
|---|---|---|---|
 | Wind | Tablet |
Basic Critical Rate +40% P. Skill Critical Damage +20% |
 | Forest | Tablet |
Max HP/ MP +250 P. Skill damage bonus in PvE +4% |
 | Fire | Tablet |
P. Atk. +500 Atk. Spd. +25% Speed +45 |
 | Mountain | Tablet |
P. Atk. +800 P. Def. +600 M. Def. +400 |
 | Atsumori | 2★ |
Max HP +30% (momentarily recovers bonus HP) MP Recovery Rate +5 P. Atk. +15% P. Atk. +1000 P. Skill MP Consumption -15% P. Skill Cooldown -3% When hit, removes Fear (removal rate: 20%). |
 | Resolution | 3★ |
P. Atk. +30% P. Skill Damage bonus +15% One-handed sword damage bonus +10% Skill Enhancement: Single Flash → Twin Flash Additional strike when using Twin Flash: Triple Strike (Activation Chance: 40%) 1 additional strike Skill Enhancement: Mobility → Insight Mobility Applies different effects depending on the enemy targeted by Insight Mobility Rushes and attacks target with power added to character’s P. Atk. Depending on the target you choose, you’ll gain either Leap/Close Combat/Fierce Pursuit Leap: When the selected target is an NPC/Guardian/Monster/Servitor P. Atk./Atk. Spd./Speed/P. Accuracy increased Close Combat: If the selected target is a ranged class Atk. Spd., Speed increased Remove P. Def./M. Def. Reduction debuffs when hit Fierce Pursuit: If the selected target is a ranged class Atk. Spd./Speed/P. Accuracy increased Skill Enhancement: Strike → Screaming Strike Attack target with power added to character’s P. Atk. and knocks them down Immediately after using a Whirling Strike/Earthly Blade Increase Attack Count of Scream Strike by 1 time |
 | Determination | 3★ |
P. Atk. +10% P. Skill Critical Rate +10% P. Def. +10,000 Debuff/ Anomaly Resistance +30% Enhanced Body 10% With a 40% chance, triggers Provoke resistance. When hit, applies Breath of Blood (trigger rate: 10%). (Breath of Blood is cancelled once Determination expires.) Breath of Blood Duration: 5 sec., cooldown: 10 sec. Recovers 20,000 HP every 2 sec. On attack, absorbs 30% of damage as HP. Absorption rate: 80% |
Active Skills
| Icon | Skill | Type | Description |
|---|---|---|---|
 | Single Flash | Base |
Attacks the target. Power 9630. Ignores Shield Defense. Ignores 15% of the target’s defense. |
 | Take Life | 1★ |
Attacks the target twice. Power 9260. Ignores Shield Defense. Ignores 20% of the target’s defense. |
 | Mobility | 1★ |
Attacks the enemy. Power 9500. Ignores Shield Defense. Ignores 10% of the target’s defense. On using the skill, applies Rush Jump on the caster (duration: 4 sec.). P. Atk. +300 Atk. Spd. +120 Speed +20 P. Accuracy +10 |
 | Strike | 1★ |
Attacks the target and nearby enemies. Power 5967. Ignores Shield Defense. Ignores 15% of the target’s defense. PvP: Attacks up to 2 targets. PvE: Attacks up to 2 targets. |
 | Twist | 2★ |
Attacks the enemies twice. Power 6998. Ignores Shield Defense. Ignores 10% of the target’s defense. Applies Weakness Detection to the target. PvP: Attacks up to 2 targets. PvE: Attacks up to 2 targets. Weakness Detection’s duration: 8 sec. Received P. Skill Critical Rate +20% Received P. Skill Critical Damage +15% Knockback/ Knockdown Resistance -30% On using Twist/ Full Twist: Disastrous Shriek’s number of attacks +1 |
 | Sever Hell | 3★ |
Attacks the enemies twice. Power 7680. Ignores Shield Defense. Ignores 15% of the target’s defense. PvP: Attacks up to 8 targets. PvE: Attacks up to 8 targets. |
 | Crushing Strike | 3★ |
PvP effect Deals P. damage to the target. Power 10,317. With a certain chance, applies Weapon Break on the target. Ignores Shield Defense. Ignores 25% of the target’s defense. Weapon Break The target’s weapon loses all its properties and is automatically removed from its slot. Weapon repair fee: Spirit Ore (100 pcs.) (Does not include the armor repair fee.) The skill can only be used on a mutually hostile character. PvE effect Attacks the target twice dealing P. damage. Power 10,317. Ignores Shield Defense. Ignores 25% of the target’s defense. |
 | Night of the White Ghost | 3★ |
Attacks the enemies twice. Power 8520. Applies the Scratch effect. Ignores Shield Defense. Ignores 15% of the target’s defense. Scratch’s duration: 5 sec. HP absorption rate -80% PvP: Attacks up to 8 targets. PvE: Attacks up to 8 targets. If the target is a common monster, pulls it to you. |
Special Skills
| Icon | Skill | Type | Description |
|---|---|---|---|
 | Omen | 4★ |
You feel the presence of an alien power. Nearby enemies’ CP -35% Max HP +20% (momentarily recovers bonus HP) Max MP +20% P. Def. +10% M. Def. +10% P. Atk. +30% P. Skill Critical Rate +20% P. Skill Critical Damage +20% P. Skill Damage +10% P. Skill Power +5% Knockback/ Knockdown Atk. Rate +15% Debuff/ Anomaly Resistance +10% Enables the following skill: Battojutsu |
 | Advent | Master |
An unknown nightmare comes to Aden. Nearby enemies’ CP -70% Max HP +30% (momentarily recovers bonus HP) Max MP +30% P. Def. +20% M. Def. +20% P. Atk. +35% P. Skill Critical Rate +30% P. Skill Critical Damage +30% P. Skill Damage bonus +20% P. Skill Power +5% Knockback/ Knockdown Atk. Rate +30% Debuff/ Anomaly Resistance +10% Enables the following skill: Perception: Battojutsu Applies Embodiment on attack. Embodiment Duration: 4 sec. Trigger rate: 1%, trigger cooldown: 40 sec. Debuff/ Anomaly Resistance +40% Received Skill Critical Rate -25% Received Skill Critical Damage -20% Resets cooldown. Perception: Battojutsu When using attack skills while Embodiment is active, triggers Retaliation. Trigger rate: 50% Attacks nearby enemies. Power 9600. Ignores Shield Defense. Ignores 10% of the target’s defense. PvP: Attacks up to 10 targets. PvE: Attacks up to 10 targets. |
 | Battojutsu | 4★ |
Note! Can only be used while Omen is active. Attacks enemies twice knocking them down. Power 19,200. Crit. Atk. base bonus: 3.0 Ignores Shield Defense. Ignores 25% of the target’s defense. PvP: Attacks up to 20 targets. PvE: Attacks up to 20 targets. When using the skill, triggers Strength of Spirit (duration: 5 sec.). Mobility – Resets cooldown. – Mobility range +400 |
Enchantable Skills
| Icon | Skill | Type | Description |
|---|---|---|---|
|
| Take Life | 1★ | Base Attacks the target twice. Power 9260. Ignores Shield Defense. Ignores 20% of the target’s defense. +1 Attacks the target twice. Power 8635. Ignores Shield Defense. Ignores 20% of the target’s defense. +2 Attacks the target thrice. Power 8635. Ignores Shield Defense. Ignores 20% of the target’s defense. +3 Attacks the target thrice. Power 9930. Knocks the target down. Ignores Shield Defense. Ignores 20% of the target’s defense. |
|
| Workout | 2★ | Base Max HP +10% P. Def. +300 +1 Max HP +12% P. Def. +600 Received P. Skill Critical Rate -10% Received P. Skill Critical Damage -10% +2 Max HP +16% P. Def. +1200 Received P. Skill Critical Rate -15% Received P. Skill Critical Damage -15% Received P. Skill Damage -5% P. Skill Power +2% +3 Max HP +20% P. Def. +2400 Received P. Skill Critical Rate -20% Received P. Skill Critical Damage -20% Received P. Skill Damage -10% P. Skill Power +5% Enhanced Body 10% |
|
| Sever Hell | 3★ | Base Attacks the enemies twice. Power 7680. Ignores Shield Defense. Ignores 15% of the target’s defense. PvP: 8 targets / PvE: 8 targets +1 Attacks the enemies twice. Power 7488. Ignores Shield Defense. Ignores 15% of the target’s defense. PvP: 10 targets / PvE: 10 targets +2 Attacks the enemies thrice. Power 8958. Ignores Shield Defense. Ignores 15% of the target’s defense. PvP: 12 targets / PvE: 12 targets +3 Attacks the enemies thrice. Power 10,782. Ignores Shield Defense. Ignores 20% of the target’s defense. PvP: 14 targets / PvE: 14 targets |
Prioridad de habilidades (orden de aprendizaje)
Si tienes recursos limitados, esta es la decisión más importante que vas a tomar.
No se trata de aprender todo… se trata de aprender lo correcto primero.
El Samurai Crow escala por habilidades. Si eliges mal el orden, vas a pegar menos, farmear peor y rendir peor en PvP.
Magic Tablet (base)
Prioridad absoluta desde el inicio:
- Katana Master
- Samurai Armor Master
- Wind
- Fire
- Forest
- Mountain
Esto define tu base. Sin esto, la clase no funciona correctamente.
Habilidades 1★ (prioridad alta)
Aquí está el core del Samurai early game:
- Slashing of Straw Dummy → mayor aumento de daño base
- Sword Seizure → daño + control (knockdown)
- Self-awareness → velocidad y fluidez
- Take Life → daño principal early-mid
- Mobility → engage y posicionamiento
- Strike → AoE básico para limpiar
- Fiery Fighting Spirit → supervivencia (segunda vida)
Primero daño y fluidez. La supervivencia viene después.
Habilidades 2★ (mid game)
Aquí empieza el power spike real de la clase:
- Atsumori → buff obligatorio (HP, daño, cooldown)
- Workout → supervivencia y reducción de daño
- Furious Heart of Sword → velocidad + daño + cooldown
- Twist → debuff clave para el burst
- Fundamental Teaching → mejora de AoE para farmeo
En este punto ya no solo haces daño… empiezas a optimizarlo.
Habilidades 3★ (power spike real)
Aquí es donde el Samurai Crow se convierte en una clase completa:
- Resolution → buff más importante de la clase
- Determination → ventana de poder (PvP clave)
- Sever Hell → AoE principal (PvE y PvP masivo)
- Night of the White Ghost → burst AoE adicional
- Crushing Strike → utilidad PvP (weapon break)
Aquí defines tu impacto real en PvP.
Si sigues este orden, siempre vas a invertir bien tus recursos.
Rotación y Gameplay (PvP)
Aquí es donde se ve si sabes jugar Samurai Crow… o si solo estás apretando botones.
No es una clase de spam. Es una clase de setup + ejecución.
Si no entiendes esto, vas a pegar poco aunque tengas buen equipo.
Concepto clave
Samurai Crow gana por ventanas de daño.
No ganas por aguantar. No ganas por spamear.
Ganas por preparar el objetivo… y ejecutar en el momento correcto.
Setup obligatorio
Este es el orden real del Samurai:
- Mobility → entrada + stats
- Twist → debuff clave
- Damage → solo después del setup
Twist no es opcional.
Si no lo aplicas, tu burst pierde muchísimo valor.
Ventana de poder
Tu única gestión real es Determination.
- Duración: 30s
- Cooldown: 2 min
Cuándo usarlo:
- Antes del engage real
- Para responder al engage enemigo
- En peleas largas para mantener presión
Si lo usas mal, pierdes la pelea.
Combo real
Secuencia base:
- Mobility
- Twist
- Take Life / Single Flash
- Omen (si disponible)
- Battojutsu
El daño no viene de una skill.
Viene de la combinación: debuff + timing + ejecución.
Visual rotation
Mobility → Twist → Damage → Omen → Battojutsu
Simple de ver. Difícil de ejecutar bien.
Posicionamiento
Eres melee, pero no eres tanque.
Tu rol es:
- Entrar
- Generar presión
- Ejecutar
- Salir
Si te quedas sin ventana activa… te retiras.
Errores críticos
- No usar Twist antes del daño
- Spamear skills sin orden
- Usar Determination tarde
- Tirar Omen sin target claro
- Quedarte en melee sin cooldowns
Resumen rápido
Burst → Omen + ejecución
Setup → Mobility + Twist
Ventana → Determination
Build y prioridades
Aquí es donde la mayoría falla.
No es solo tener equipo… es saber qué buscar y en qué orden.
En Essence, el daño viene de habilidades. Tu build tiene que girar alrededor de eso.
Prioridad de stats
- Skill Power → stat principal, todo tu daño escala con esto
- P. Skill Critical Damage → multiplica tu burst
- Soulshot / Spiritshot Damage → escala muy bien en todos los stages
- P. Skill Critical Rate → útil, pero secundario
- Supervivencia → solo lo necesario
No intentes equilibrar todo. Prioriza daño.
Weapon
One-handed sword obligatoria.
Qué buscar:
- Skill Power
- P. Skill Critical Damage
- Soulshot Damage
Si tu arma no potencia skills, estás perdiendo daño real.
Armor
Heavy Armor obligatoria.
Qué buscar:
- P. Skill Power (guantes)
- Reducción de daño
- HP
Botas: cooldown o supervivencia según necesidad.
Augments (clave real)
Aquí está el gearscore oculto.
Siempre buscas 2 propiedades que sinergicen.
Prioridad por pieza:
- Weapon → Skill Power / Skill Critical Damage
- Helmet → Debuff / Anomaly Resistance
- Chest → All received critical damage ↓
- Gloves → All received critical rate ↓
- Boots → Speed o supervivencia
- Jewels → Received Skill Critical Damage ↓
- Circle / Mask → Skill Power / Soulshot Damage
Si optimizas augments, el personaje cambia completamente.
Soul Crystal
Sin complicaciones:
- Weapon → Skill Power / P. Skill Critical Damage
- Armor → defensa
Es un sistema fuerte, pero secundario frente a augments.
Errores comunes
- Priorizar defensa demasiado pronto
- Ignorar Skill Power
- No optimizar augments
- Copiar builds sin entenderlas
Resumen rápido
Supervivencia → lo justo
Prioridad → Skill Power
Burst → Skill Critical Damage
Escalado → Soulshot Damage
Conclusión
El Samurai Crow no es una clase difícil… pero tampoco es una clase permisiva.
Si juegas mal, no haces daño, no aguantas y no aportas nada.
Pero si entiendes cómo funciona, se convierte en una de las clases más completas y peligrosas de Lineage 2 Essence.
La clave es simple:
- Priorizar bien tus habilidades
- Aplicar siempre el setup antes del daño
- Usar correctamente tus ventanas
- Optimizar tu build alrededor de skills
No es cuestión de suerte.
Es cuestión de ejecución.
Siguiente paso
Si esta guía te ayudó, tienes mucho más contenido como este en el canal y en la comunidad.
Guías completas, sin humo, directas al grano y pensadas para que mejores de verdad.
¿Cuál es el error más común con Samurai Crow?
No usar Twist antes del daño. Sin ese debuff, pierdes gran parte del burst.
¿Qué stat es más importante?
Skill Power. Todo tu daño escala directamente con este stat.
¿Es una clase difícil de jugar?
No es compleja, pero sí exigente. Castiga errores y mala ejecución.
Jewels → Received Skill Critical Damage ↓
y para los earring? esos no tienen skill crit dmg –